- Prepare the Ingredients

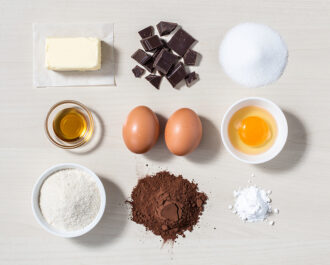
Gather your ingredients: 1 cup unsalted butter, 6 oz chopped dark chocolate, 1.5 cups granulated sugar, 4 large eggs, 2 tsp vanilla extract, 1 cup almond flour, 1/2 cup cocoa powder, 2 tbsp cornstarch, and 1/2 tsp salt. Preheat your oven to 350°F (175°C). Line an 8x8 inch baking pan with parchment paper, leaving an overhang on two sides for easy removal.
- Melt Chocolate & Butter
In a large, heatproof bowl set over a saucepan of gently simmering water (make sure the bottom of the bowl doesn't touch the water), melt the butter and chopped chocolate together. Stir occasionally until the mixture is completely smooth and glossy. Remove the bowl from the heat and let it cool for 5 minutes.
- Combine Wet Ingredients
Whisk the granulated sugar into the warm chocolate-butter mixture until well combined. Add the eggs, one at a time, whisking vigorously after each addition until fully incorporated. Whisk in the vanilla extract. Continue whisking for a full minute; the mixture should become slightly thicker and paler in color, which helps create that shiny brownie top.
- Fold in Dry Ingredients
In a separate bowl, whisk together the almond flour, cocoa powder, cornstarch, and salt. Add these dry ingredients to the wet chocolate mixture. Using a spatula, gently fold everything together until just combined and no streaks of dry flour remain. Be careful not to overmix.
- Bake to Perfection
Pour the thick, glossy batter into your prepared pan and smooth the top with the spatula. Bake in the preheated oven for 28-32 minutes. The brownies are done when the top is set and shiny with a few cracks, and a toothpick inserted into the center comes out with a few moist crumbs (not wet batter).
- Cool, Slice & Serve
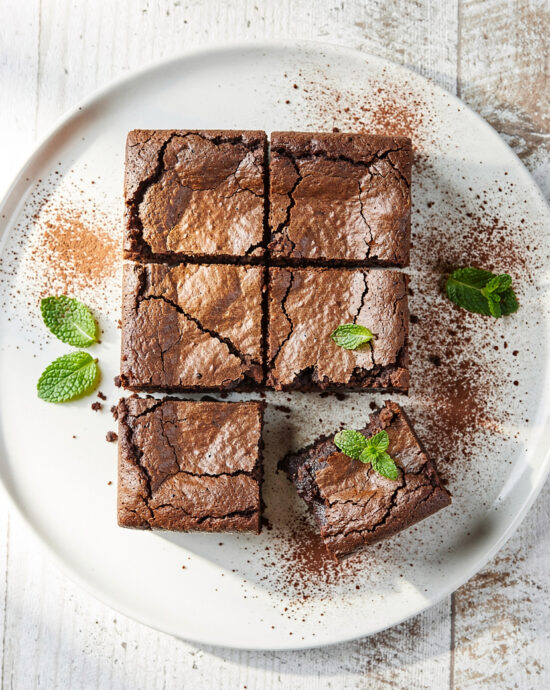
Allow the pan to cool completely on a wire rack—this is crucial for clean slicing and a fudgy texture. Once cool, use the parchment overhang to lift the entire slab out of the pan. Slice into 9 squares with a sharp knife. Enjoy at room temperature or slightly warmed.
- Calories:420 kcal
- Protein:7 g
- Carbohydrates:38 g
- Sugar:30 g
- Salt:0.2 g
- Energy:1757 kJ
- Fat:29 g
Let’s be honest: the craving for a brownie hits hard. It’s a specific, non-negotiable need for something deeply chocolatey with a texture that walks the perfect line between cakey and fudgy. For years, I assumed achieving that at home without wheat flour was a compromise. I’m thrilled to report I was wrong. This recipe for gluten free brownies is the one that changed my mind—it’s so rich, decadent, and structurally sound, no one will guess its secret. Best of all, it comes together with a whisk and one bowl in about 10 minutes.
The Legend of the Brownie: A Happy Accident
Like many great American desserts, the brownie’s origin is delightfully messy. The story goes that a socialite in late 19th-century Chicago requested a small, portable cake-like dessert for a ladies’ luncheon. A harried chef, having forgotten to add baking powder to his chocolate cake batter, pulled the resulting dense, flat squares from the oven. Presented with a culinary ‘mistake,’ the women adored it. It was a glorious kitchen fail that gave us one of the most beloved treats. This recipe honors that spirit of delicious serendipity, just without the gluten.
What Makes This Batch So Special
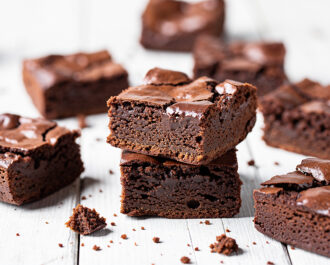
Texture is everything. We use a blend of almond flour and a touch of cornstarch to mimic the tender structure wheat flour provides, while the generous amount of butter and eggs ensures that signature fudgy chew. The real secret? A double hit of chocolate—both melted dark chocolate and cocoa powder—for a complex, grown-up flavor that’s not overly sweet. This mixture bakes up with a gorgeous, crackly top and a center that’s dense, moist, and deeply satisfying.
The One Pro-Tip You Absolutely Need
Do not overmix the batter once you add the dry ingredients. You want them just incorporated. Overworking it develops the starch and can lead to a tougher, more cake-like crumb. We’re aiming for fudgy, remember? A few streaks of flour are perfectly fine. This small moment of restraint is the key to perfect gluten free brownies every single time.
Serving & Pairing: Beyond the Square
While a warm square with a glass of cold milk is a timeless classic, let’s get creative. For an epic dessert, top a still-warm brownie with a scoop of vanilla bean ice cream and a drizzle of salted caramel. For a brunch treat, crumble one over thick Greek yogurt with fresh berries. My personal favorite pairing? A small square with a shot of rich, dark espresso. The bitterness of the coffee cuts through the sweetness beautifully.
Variations & Clever Substitutions
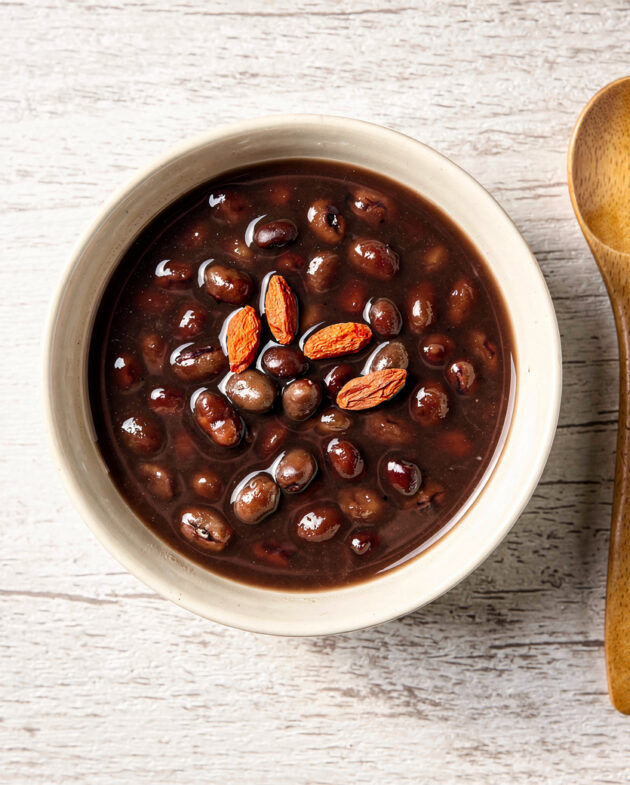
The beauty of this base is its adaptability. Need a vegan brownie recipe? Swap the butter for coconut oil and use a trusted egg replacer like flax eggs. For healthy brownie recipes, you can reduce the sugar by a quarter cup; the chocolate flavor will shine brighter. Intrigued by black bean brownies? You can puree a 15-oz can of rinsed black beans and add it to the wet ingredients for a protein-packed, fudgy twist (check out our dedicated black bean brownie recipe for precise guidance). And for those on a low-carb path, substituting a keto-friendly sweetener and using extra almond flour can create delicious keto brownies. The world is your (chocolate) oyster.
Make-Ahead & Storage Wisdom
These keep beautifully! Let the pan cool completely, then cover tightly with plastic wrap or transfer to an airtight container. They’ll stay fresh and fudgy at room temperature for 3 days. For longer storage, freeze them in a single layer on a baking sheet before transferring to a freezer bag. They’ll keep for up to 3 months. Thaw at room temperature or pop a frozen square in the microwave for 15 seconds for a near-instant warm treat.
Your Gluten Free Brownie Questions, Answered
Q: Can I use a different gluten-free flour blend?
A: Yes, but results vary. A 1:1 baking blend will work, but the texture may be slightly less fudgy. I recommend the almond flour blend for the best results, as detailed on Serious Eats.
Q: My brownies are too gooey in the middle. What happened?
A: They likely needed a few more minutes. Use the toothpick test: it should come out with a few moist crumbs, not wet batter. The residual heat will continue to cook them as they cool.
Q: How do I get that shiny, crackly top?
A: The key is properly dissolving the sugar in the warm butter and eggs. Whisk vigorously for a full minute when you add the eggs; this incorporates air and helps create that classic thin, shiny crust.
So, what are you waiting for? Preheat that oven and clear a bowl. This is the recipe that proves you don’t need to compromise on flavor or texture. I promise, one bite of these supremely fudgy, intensely chocolatey squares, and you’ll be a believer too. Now, go bake! And don’t forget to tell me how they turned out in the comments.